Are your old windows drafty, inefficient, or simply outdated? Replacing them can enhance your home’s comfort, energy efficiency, and curb appeal. However, window replacement is a significant undertaking that requires careful planning and execution. In this comprehensive guide, you’ll learn the essential steps to replace old windows in your home successfully. From assessing your current windows and choosing the right replacements to proper installation techniques and finishing touches, we’ll cover everything you need to know. Whether you’re a seasoned DIY enthusiast or considering hiring professionals, this article will equip you with the knowledge to make informed decisions and achieve optimal results in your window replacement project.
When Is It Time to Replace Old Windows?
Determining the right moment to replace your old windows is crucial for maintaining your home’s energy efficiency, comfort, and aesthetic appeal. Here are key indicators that suggest it’s time for a window upgrade:
Age and Deterioration
As windows age, they naturally deteriorate. If your windows are over 20 years old, it’s likely time to consider replacement. Look for signs of wear such as:
- Warped or rotted frames
- Condensation between glass panes
- Difficulty in opening, closing, or locking
These issues not only affect functionality but also compromise your home’s security and energy efficiency.
Energy Inefficiency
Outdated windows can significantly impact your energy bills. If you notice:
- Drafts near closed windows
- Increased heating or cooling costs
- Single-pane glass instead of double or triple-pane
It’s a clear indication that your windows are no longer providing adequate insulation, costing you money in the long run.
Noise Pollution
If outside noise seems more pronounced than before, your windows may no longer be providing sufficient sound insulation. Modern windows with multiple panes and specialized glazing can dramatically reduce noise transmission, enhancing your home’s comfort.
Aesthetic Concerns
Windows play a crucial role in your home’s appearance. Consider replacement if:
- Your windows look outdated compared to your home’s style
- There’s visible damage or discoloration
- You’re planning to sell your home in the near future
New windows can significantly boost curb appeal and potentially increase your property value.
Maintenance Issues
If you find yourself constantly repairing your windows, it may be more cost-effective to replace them. Modern windows often require less maintenance and offer improved durability.
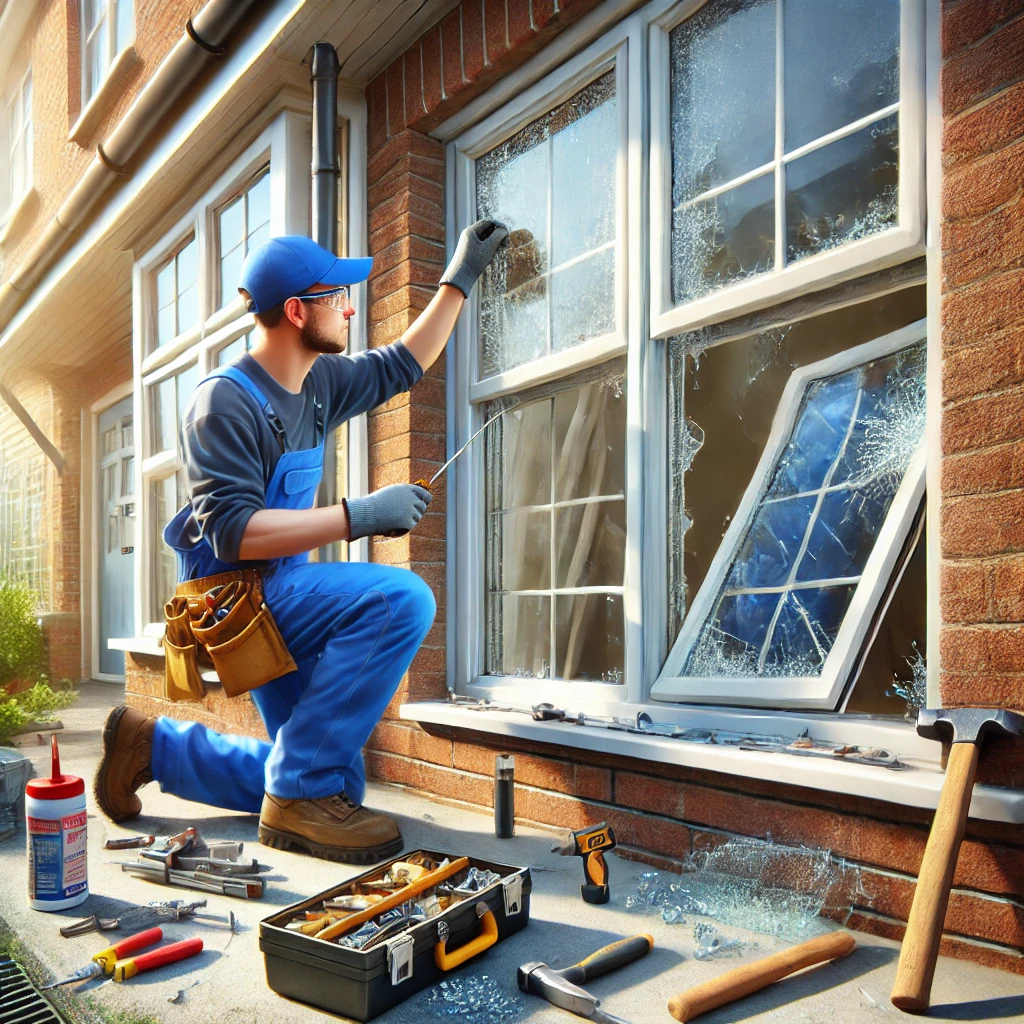
Severe Weather Damage
After extreme weather events, inspect your windows for:
- Cracks or chips in the glass
- Damaged weatherstripping
- Warped or bent frames
Extensive damage from severe weather often necessitates window replacement to maintain your home’s integrity and energy efficiency.
By considering these factors, you can make an informed decision about when to replace your old windows, ensuring your home remains comfortable, energy-efficient, and visually appealing for years to come.
Preparing for Window Replacement
Assessing Your Current Windows
Before embarking on a window replacement project, it’s crucial to thoroughly assess your current windows. Examine each window for signs of wear, such as drafts, condensation between panes, or difficulty in operation. Take precise measurements of each window opening, including width, height, and depth. These measurements will be essential when ordering new windows and ensuring a proper fit.
Choosing the Right Replacement Windows
When selecting new windows, consider factors such as energy efficiency, material, and style. Look for ENERGY STAR certified windows, which can significantly reduce your home’s energy consumption. Popular materials include vinyl, wood, and fiberglass, each with its own benefits in terms of durability, maintenance, and aesthetics. Choose a style that complements your home’s architecture and meets your functional needs, such as double-hung, casement, or picture windows.
Gathering Necessary Tools and Materials
To prepare for the installation process, gather all required tools and materials. You’ll typically need:
- Pry bar
- Caulk gun and caulk
- Tape measure
- Level
- Drill and drill bits
- Screwdriver
- Hammer
- Utility knife
- Insulation
- Shims
Ensure you have all these items on hand before beginning the replacement process to avoid delays or interruptions.
Preparing the Work Area
Clear the area around each window, both inside and outside your home. Remove window treatments, furniture, and any obstacles that might impede your work. Lay down drop cloths to protect flooring and nearby surfaces from debris. If you’re working on upper-story windows, ensure you have safe and stable access, such as a sturdy ladder or scaffolding.
Scheduling and Timing Considerations
Plan your window replacement project during a time of year with mild weather conditions, if possible. This will minimize exposure to the elements during the installation process. Consider the project’s duration and how it might impact your daily routine. If you’re replacing multiple windows, you may want to tackle the project in stages to minimize disruption to your living space.
By thoroughly preparing for your window replacement project, you’ll set yourself up for a smoother, more efficient installation process and ultimately achieve better results in improving your home’s energy efficiency and aesthetic appeal.
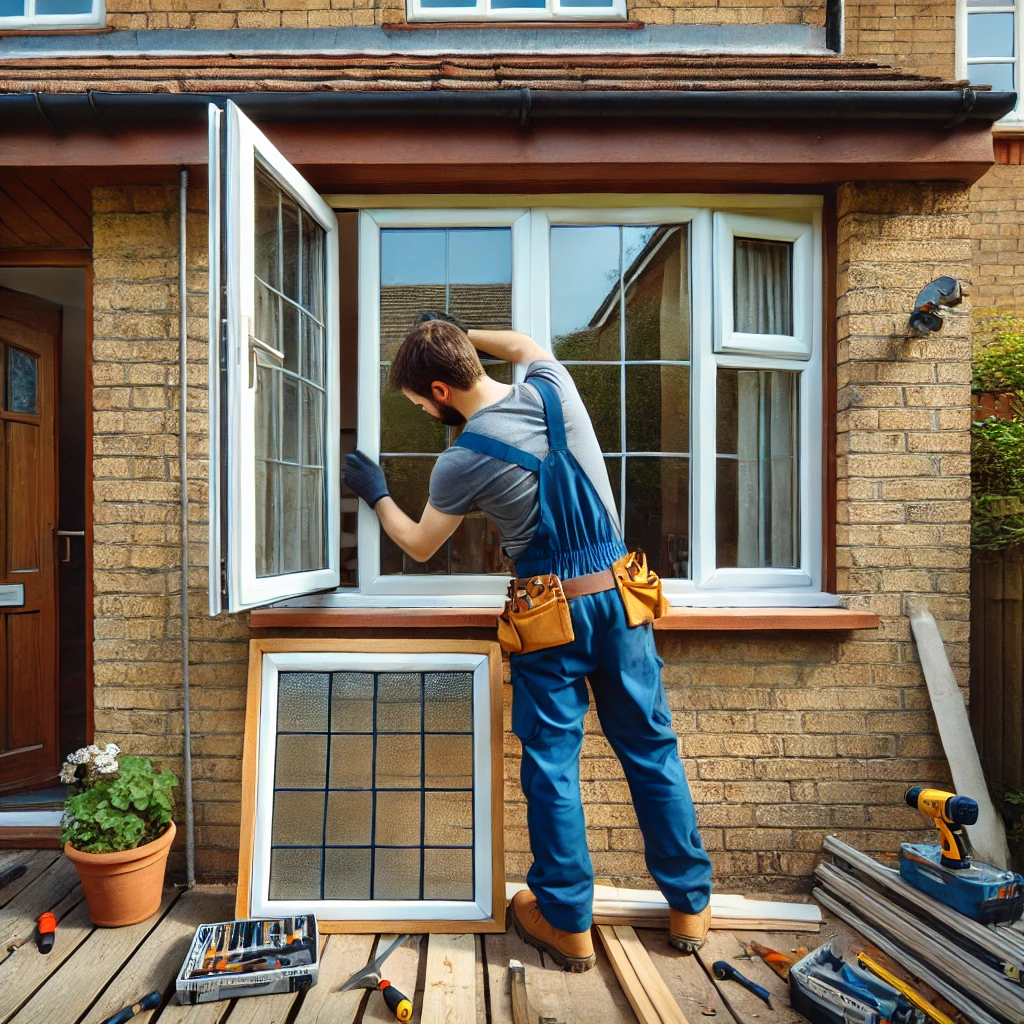
Step-by-Step Guide to Removing Old Windows
Removing old windows is a crucial step in the window replacement process. Follow this comprehensive guide to ensure a smooth and efficient removal.
Gather Necessary Tools and Materials
Before beginning, assemble the following items:
- Pry bar
- Utility knife
- Hammer
- Screwdriver set
- Safety glasses
- Work gloves
- Drop cloths
- Putty knife
Prepare the Work Area
- Clear the area around the window, both inside and outside.
- Lay drop cloths to protect flooring and catch debris.
- Remove window treatments, such as curtains or blinds.
- Put on safety glasses and work gloves for protection.
Remove Window Trim and Sash
Start by carefully prying off the interior trim using a pry bar. Work slowly to avoid damaging the surrounding wall. Once the trim is removed, you’ll have access to the window frame and sash.
For double-hung windows, lower the bottom sash and remove any weights or springs. Tilt the sash inward and lift it out of the frame. Repeat this process for the upper sash.
For casement windows, remove the crank mechanism and any screws holding the sash in place. Carefully lift the sash out of the frame.
Extract the Window Frame
With the sash removed, inspect the frame for any remaining fasteners. Remove these using a screwdriver or pry bar. In some cases, you may need to cut through caulk or paint with a utility knife to loosen the frame.
Gently rock the frame back and forth to break any remaining seals. Once loose, carefully remove the entire frame from the opening. Be cautious of any sharp edges or broken glass.
Clean and Prepare the Opening
After removing the old window, thoroughly clean the opening. Use a putty knife to scrape away any old caulk or sealant. Inspect the framing for any signs of rot or damage, addressing these issues before installing the new window.
Measure the opening carefully to ensure your new window will fit properly. Make any necessary adjustments to the rough opening to accommodate the replacement window.
By following these steps, you’ll successfully remove your old windows and prepare for the installation of new, energy-efficient replacements. Remember to dispose of old windows properly, adhering to local regulations for glass and construction waste disposal.
Installing New Replacement Windows
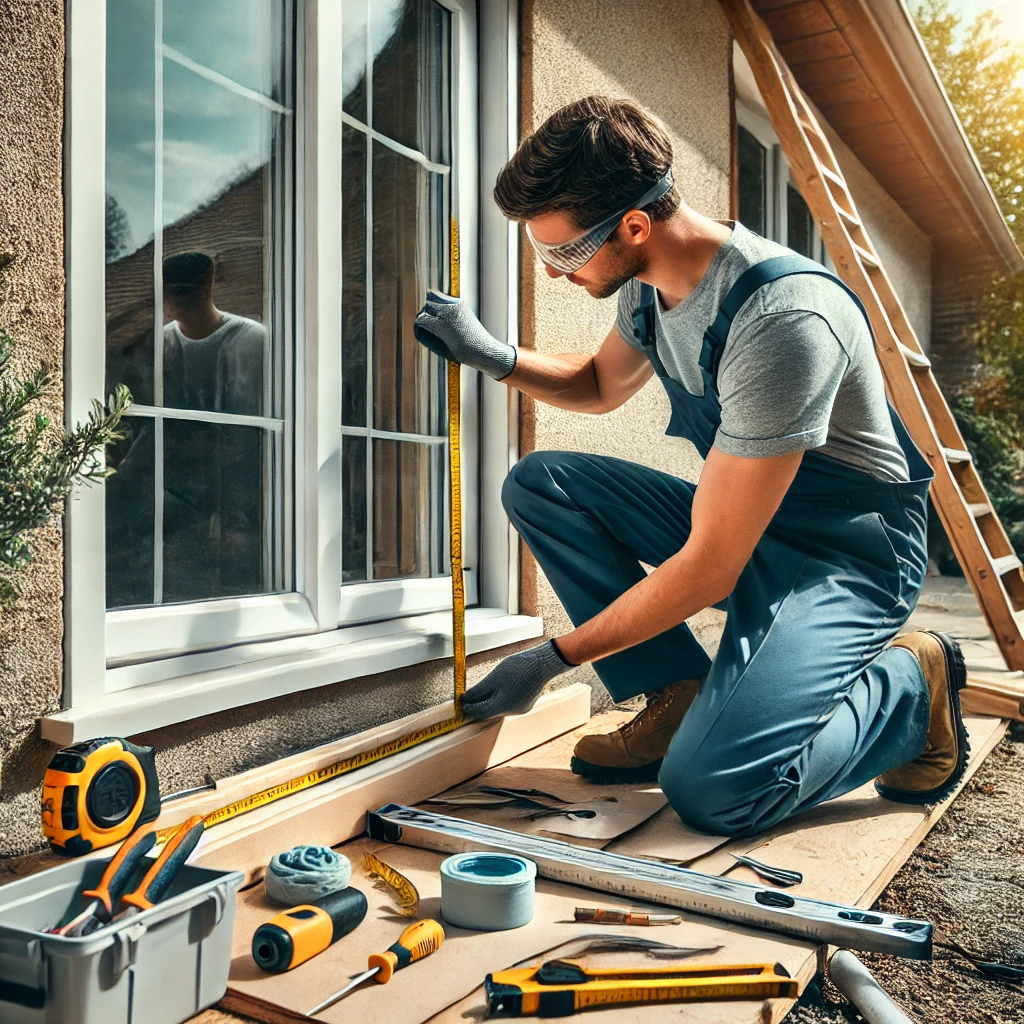
Preparation and Measurement
Before installing your new replacement windows, precise measurement is crucial. Measure the width and height of the existing window opening at multiple points to account for any irregularities. Record the smallest measurements to ensure a proper fit. Remember, it’s better to have a slightly smaller window than one that’s too large.
Next, inspect the window frame for any signs of rot, water damage, or structural issues. Address these problems before proceeding with the installation. Gather all necessary tools and materials, including the new windows, shims, insulation, caulk, and a level.
Removal of Old Windows
Start by removing any trim or molding around the existing window. Use a pry bar and work carefully to avoid damaging the surrounding wall. Once the trim is removed, you’ll be able to see how the old window is fastened. Remove any screws or nails holding it in place.
Carefully remove the old window sash and frame. In some cases, you may need to cut through old caulk or paint to free the window. Exercise caution during this step to prevent damage to the rough opening.
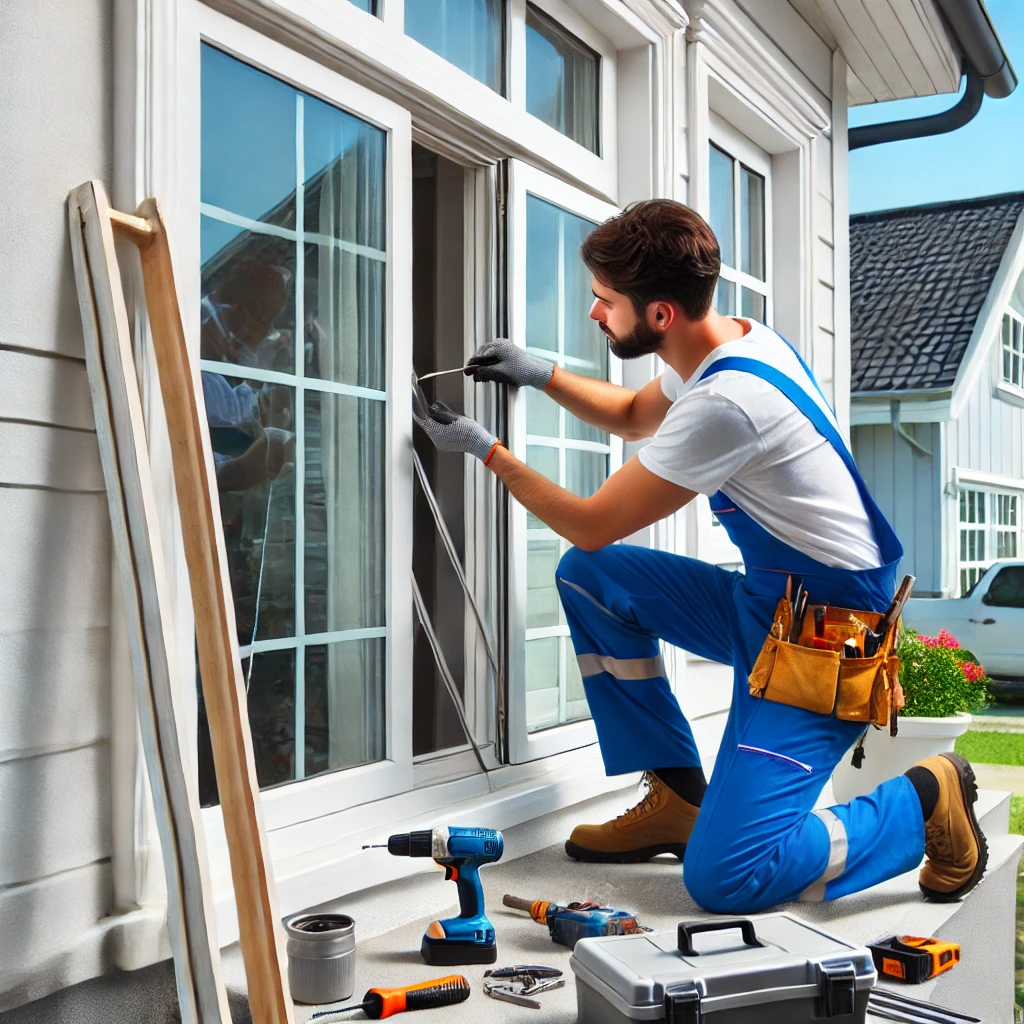
Installing the New Window
Begin by applying a continuous bead of caulk around the perimeter of the opening where the new window will sit. This creates a weatherproof seal. Carefully lift the new window into place, ensuring it’s level and plumb. Use shims to adjust the position as needed.
Once the window is properly aligned, secure it using the manufacturer’s recommended fasteners. Be careful not to over-tighten, as this can warp the frame. Check for smooth operation of any moving parts.
Insulation and Finishing
Fill any gaps between the new window and the rough opening with low-expanding foam insulation. This improves energy efficiency and prevents drafts. Allow the foam to dry completely before trimming any excess.
Finally, reinstall the interior and exterior trim, caulking all seams to create a weathertight seal. Paint or stain the trim to match your home’s aesthetic. Properly installed replacement windows not only enhance your home’s appearance but also improve energy efficiency and comfort.
Conclusion
In conclusion, replacing old windows in your home is a significant undertaking that requires careful planning and execution. As trusted expert window and siding contractors in San Francisco, we at Rhino Siding & Window Replacement can help you navigate this process with ease.
By following the steps outlined in this guide, you can successfully complete this project and enjoy the benefits of new, energy-efficient windows. Remember to assess your windows’ condition, choose the right replacements, gather necessary tools and materials, and follow proper installation techniques.
While some homeowners may choose to tackle this project themselves, hiring professionals like Rhino Siding & Window Replacement ensures expert installation and optimal results. Our team has the experience and knowledge to handle all aspects of window replacement, from selection to installation.
Upgrading your windows will enhance your home’s comfort, energy efficiency, and overall value. With the information provided in this article and the expertise of Rhino Siding & Window Replacement, you’re now equipped to make informed decisions about window replacement and improve your living space for years to come.
Don’t hesitate to reach out to us for a consultation or to learn more about how we can assist you with your window replacement project. Trust Rhino Siding & Window Replacement for all your window and siding needs in the Bay Area.
FAQs
Can you replace old windows yourself?
Yes, you can replace old windows yourself if you have the right tools, materials, and some DIY skills. However, it’s a complex task that requires precise measurements, proper installation techniques, and safety precautions. For best results, consider consulting with or hiring a professional to ensure the job is done correctly and efficiently.
How do I make my old windows new?
To make your old windows look new, you can:
- Clean them thoroughly using a glass cleaner and microfiber cloth.
- Repair any damaged parts, such as broken glass or rotting frames.
- Repaint or refinish the window frames.
- Replace old or damaged weather stripping to improve insulation.
- Upgrade with new hardware, such as locks and handles.
Is it worth replacing 20-year-old windows?
It is often worth replacing 20-year-old windows, especially if they are drafty, difficult to open, or have condensation issues. New windows can improve energy efficiency, enhance your home’s curb appeal, and increase its value. Additionally, modern windows typically offer better insulation and security features compared to older models.
What are the steps to replacing a window?
The steps to replacing a window include:
- Measuring the existing window opening to ensure a proper fit for the new window.
- Removing the old window, including the sash, frame, and any trim or molding.
- Preparing the window opening by cleaning and repairing any damage to the surrounding structure.
- Installing the new window by placing it into the opening and securing it according to the manufacturer’s instructions.
- Sealing the window with caulk and adding insulation around the frame to prevent drafts.
- Replacing any trim or molding around the window to finish the installation.
How do I prepare for replacement windows?
To prepare for replacement windows, you should:
- Clear the area around the windows, both inside and outside, to provide easy access for the installers.
- Remove window treatments, such as curtains and blinds.
- Take down any wall decorations or furniture that might be in the way.
- Cover nearby furniture and flooring to protect them from dust and debris.
- Make arrangements for pets and children to be out of the work area to ensure their safety.